How to Update a Custom Map View
How to Update an Existing Custom Map View
- If you want to
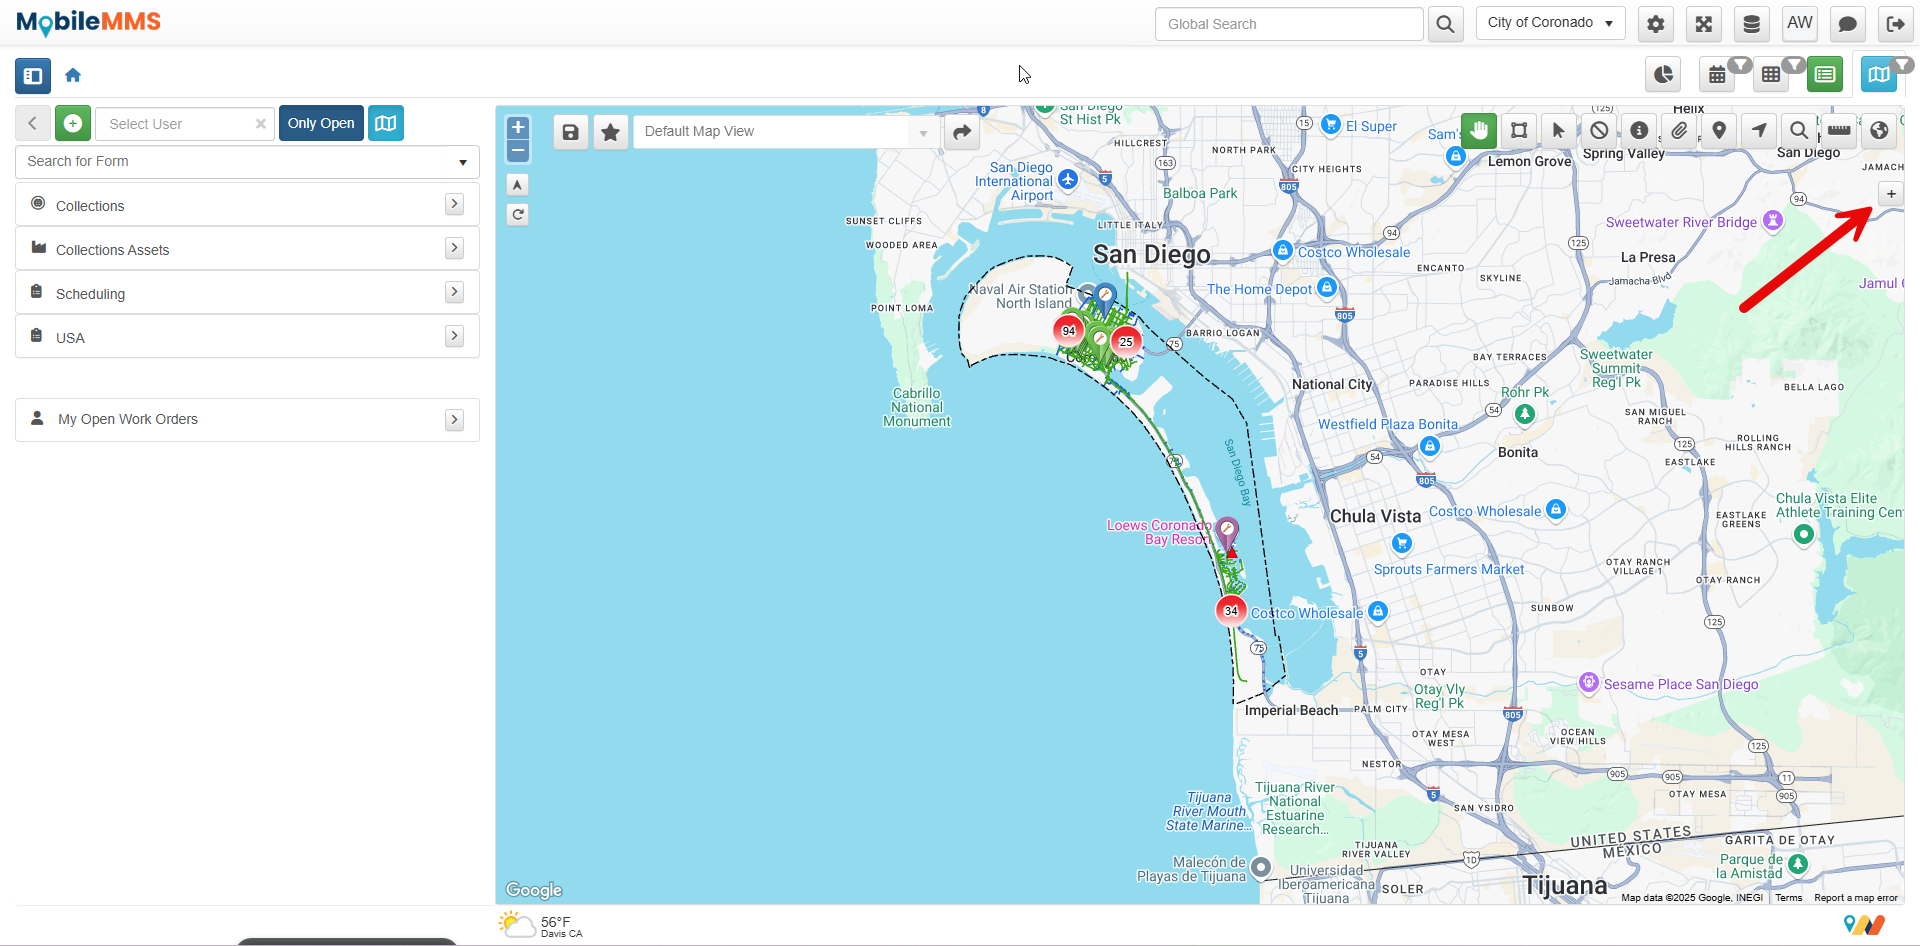
change what GIS features you’re viewing on your custom map view, first you need to
click the button displayed on the right side of the map with a Plus symbol
to show all the layers and features.

- After
clicking it, you’ll see all the GIS features with a checkbox next to
them. Clicking them will turn them on or off, and if they appear
greyed out, zooming in will make them selectable.
- After
turning off whichever features you don’t want to see, make sure to zoom out to the extent that you want so that when you save your new map view it doesn't automatically zoom in.
- Then, you can click the
Save button that’s on the direct left of the star in the top left corner
of the map. Make sure that you’ve selected your custom map view in the drop
down menu on the right of the star, and not the “Default Map View”.
- After
clicking the Save button, a prompt will appear asking if you want to
“Create New” or “Save”. Make sure that you click “Save” and you're good to go.